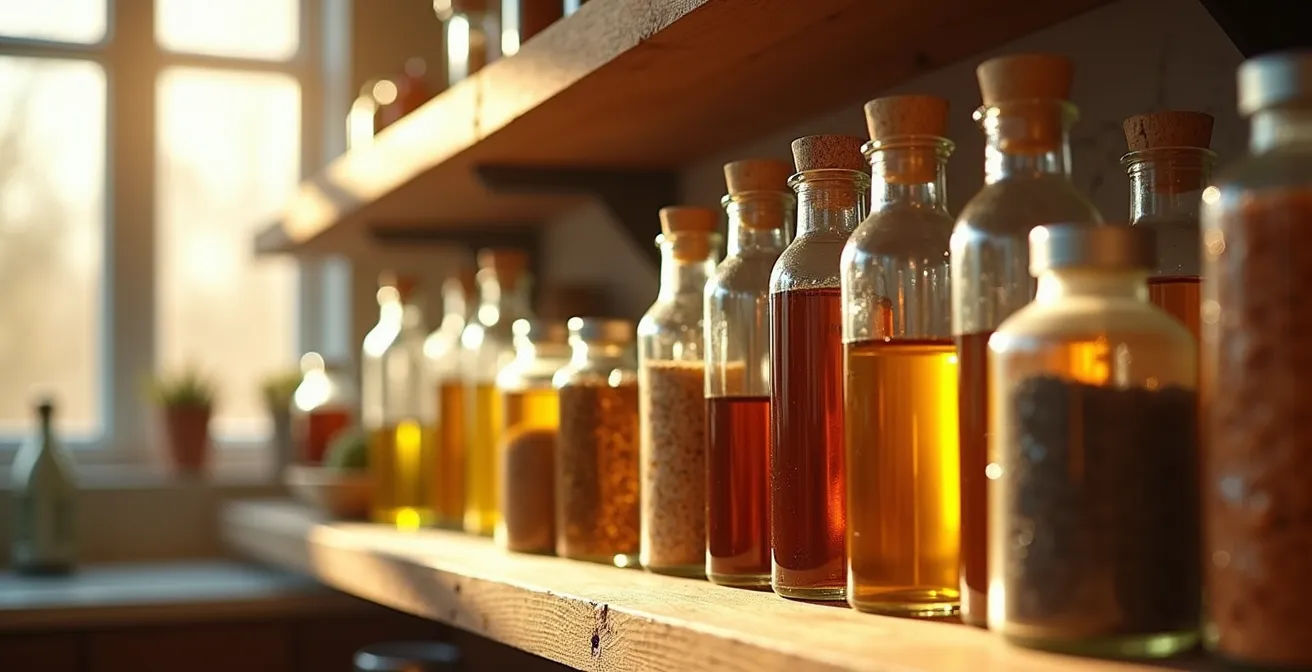
The real sources of toxins in your “clean” kitchen aren’t just obvious additives; they’re hiding in trusted staples, cookware, and cooking methods.
- “Natural flavors” can conceal dozens of synthetic chemicals, and high-sodium broths use flavor enhancers to mimic real taste.
- Non-stick pans and the wrong cooking oils can release harmful compounds when overheated, contaminating your food.
Recommendation: Shift from just reading labels to performing a full “cooking system audit” that evaluates ingredients, tools, and techniques together for a truly clean diet.
As a health-conscious parent, you’ve mastered the art of scanning nutrition labels. You meticulously avoid high-fructose corn syrup, artificial colors, and trans fats. Your pantry is stocked with what you believe are “clean” alternatives, and you take pride in cooking meals from scratch. But despite your best efforts, your family might still be consuming a host of unwanted chemicals. The common advice to “read labels” and “shop the perimeter” is a good start, but it’s dangerously incomplete. It overlooks a more insidious source of contamination.
The problem isn’t just a single “bad” ingredient. It’s the subtle, cumulative effect of an entire cooking ecosystem. What if the real saboteurs of your clean eating goals aren’t the obvious villains, but the trusted supporting cast? We’re talking about the “natural” flavor in your yogurt, the boxed broth you use for soup, the non-stick pan you sear chicken on, and even the “healthy” oil in your salad dressing. These seemingly innocent components can introduce a steady stream of synthetic solvents, inflammatory oils, and thermal contaminants into your family’s diet.
This guide moves beyond basic label-reading. Instead of just listing ingredients to fear, we’ll adopt a new, more powerful perspective: the Cooking System Audit. We will investigate how your pantry staples, cookware, and even your cooking techniques interact to either support or sabotage your health. By understanding this system, you’ll gain the expertise to identify and eliminate these hidden additives at their source, creating a truly clean and nourishing kitchen environment.
This article will guide you through a comprehensive audit of your kitchen. We’ll decode misleading labels, evaluate the safety of your tools, and optimize your cooking methods to preserve nutrients and eliminate toxins. Prepare to see your pantry in a whole new light.
Summary: The 5 “Hidden” Additives in Your Pantry That Sabotage Clean Cooking
- Natural Flavors vs Artificial: What Do These Terms Really Hide?
- Boxed Broth vs DIY: How Much Sodium Do You Really Save?
- Teflon vs Ceramic: Which Non-Stick Surface is Safer for High Heat?
- Why You Should Swap Soybean Oil for Avocado Oil in Your Dressing?
- Maple Syrup vs Agave: Which Has a Lower Glycemic Impact for Baking?
- The “Exotic Ingredient” Trap That Wastes Money and Pantry Space
- Why Unrefined Oils Turn Bitter and Toxic Above 350°F?
- Steaming vs Boiling: Which Method Preserves the Most Nutrients in Kale?
Natural Flavors vs Artificial: What Do These Terms Really Hide?
The term “natural flavors” on an ingredient list feels reassuring, suggesting wholesome origins from fruits or spices. However, the reality is far more complex and chemically intensive. While the original source must be a plant or animal, the final product is the result of significant laboratory processing. In fact, industry analysis reveals that natural flavors can contain over 100 different chemicals categorized as ‘incidental additives.’ These are chemicals used to extract, dissolve, or preserve the flavor compound.
The critical loophole for health-conscious consumers is that these incidental additives don’t have to be listed on the label. As the Environmental Working Group (EWG) points out, this creates a significant transparency gap. This process of flavor profile engineering allows manufacturers to create hyper-palatable tastes that real food can’t replicate, encouraging overconsumption.
The natural or artificial emulsifiers, solvents and preservatives in flavor mixtures are called ‘incidental additives.’ That means the manufacturer does not have to disclose their presence on food labels.
– EWG (Environmental Working Group), EWG’s Food Scores Database
So, how do you spot these engineered flavors? It’s about looking for red flags that suggest a heavy reliance on lab-created taste rather than real ingredients. A product boasting “strawberry flavor” but listing no actual strawberries is a classic example. Being an informed consumer means questioning not just the name, but the function and prevalence of these flavors in your food.
Action Plan: Checklist for Spotting Engineered Flavors
- Check if ‘natural flavor’ is one of the first five ingredients, which indicates heavy reliance.
- Look for fruit-flavored products that list no actual fruit on the ingredient panel.
- Be wary of intensely specific flavors in unexpected products (e.g., ‘grilled steak’ in vegan items).
- Avoid products where multiple ‘natural flavors’ are listed separately, suggesting a complex concoction.
- Question products with an unusually long shelf life despite containing ‘natural’ ingredients.
Boxed Broth vs DIY: How Much Sodium Do You Really Save?
Boxed broth is a quintessential pantry staple, a convenient shortcut for soups, stews, and sauces. However, this convenience often comes at a high cost: an astronomical amount of sodium and a cocktail of hidden additives. A single cup of standard canned broth can contain over 1,400 mg of sodium—more than 60% of the recommended daily intake. Even “low-sodium” versions can be misleading, often relying on yeast extract (a form of MSG) and sugar to compensate for the lack of salt and create a perception of flavor.
This is a prime example of where a simple DIY approach dramatically improves the ingredient integrity of your cooking. Making broth at home from leftover vegetable scraps and bones is not only incredibly cost-effective but gives you complete control over the final product. You decide the sodium level (or omit it entirely), and you ensure there are zero hidden additives, colorings, or flavor enhancers. The difference in quality, taste, and nutritional value is profound.
This comparison table clearly shows that while organic, unsalted broths are a better store-bought option, they still can’t compete with the purity and affordability of homemade broth.
| Type | Sodium (mg/cup) | Cost per cup | Hidden Additives |
|---|---|---|---|
| College Inn Canned | 1,460 | $0.75 | Yeast extract, caramel color |
| Low-Sodium Brands | 110-500 | $1.00-1.50 | Natural flavors, sugar |
| Homemade (no salt) | 107 | $0.25-0.50 | None |
| Organic Unsalted | 55 | $1.25 | Minimal |
The visual richness of a simmering pot of homemade broth is a testament to its quality. The golden liquid, infused with the nutrients of real vegetables and bones, is something no factory can truly replicate.

By making this one simple swap, you eliminate a major source of sodium and hidden additives from your cooking system, instantly elevating the health profile of dozens of family meals.
Teflon vs Ceramic: Which Non-Stick Surface is Safer for High Heat?
The non-stick pan is a workhorse in most kitchens, but its convenience can mask potential health risks. The primary concern revolves around how these surfaces react to high heat, a critical part of your cooking system. Traditional non-stick pans are coated with Polytetrafluoroethylene (PTFE), commonly known as Teflon. While generally stable at low to medium temperatures, studies indicate that PTFE begins to decompose at temperatures above 500°F (260°C). This decomposition can release toxic fumes and particles known as PFAS compounds, which have been linked to various health issues.
Ceramic-coated pans are often marketed as a “greener” and “safer” alternative. Their non-stick surface is derived from a sand-like mineral (silica) applied in a sol-gel process. They are generally considered safe and are free of PTFE and PFOA. However, they are not without their own vulnerabilities. The primary weakness of ceramic coatings is their durability. They are more prone to scratching and can lose their non-stick properties faster than Teflon, especially if overheated or cleaned with abrasive sponges. Both pan types demand careful use to remain safe.
Case Study: The Dangers of a Scratched Pan
Research highlights that the safety of both pan types degrades significantly once the surface is compromised. Scratched Teflon can leach PFAS-containing flakes directly into food. A scratched ceramic pan, on the other hand, can expose the aluminum core underneath, which may also leach into food, particularly with acidic ingredients. Furthermore, some proprietary ceramic coatings have been found to break down within months if consistently overheated, releasing their own set of potentially harmful chemicals. This shifts the safety focus from a simple “Teflon vs. Ceramic” debate to a more nuanced understanding of proper pan maintenance and lifespan as a key to avoiding these thermal contaminants.
Ultimately, the safest choice depends on your cooking habits. If you frequently cook at high temperatures (e.g., searing meat), a well-maintained cast iron or stainless-steel pan is a superior choice. For delicate tasks like cooking eggs at low heat, a quality ceramic or PTFE pan can be used safely, provided you never overheat it, use wooden or silicone utensils, and replace it at the first sign of significant scratching or degradation.
Why You Should Swap Soybean Oil for Avocado Oil in Your Dressing?
The oil you choose for your salad dressing might seem like a minor detail, but it has a major impact on your body’s inflammatory balance. Many store-bought dressings, and even many home recipes, rely on soybean oil. It’s cheap and has a neutral flavor, but it is extremely high in omega-6 fatty acids, specifically linoleic acid. While omega-6 is an essential fatty acid, the modern diet provides it in vast excess compared to anti-inflammatory omega-3 fatty acids. This imbalance is a significant driver of chronic inflammation.
As researchers from a comprehensive study published in a National Center for Biotechnology Information journal explain, this dietary imbalance has systemic consequences. It creates a state in the body that is primed for inflammation and allergic reactions.
The overconsumption of linoleic acid, mainly from industrial omega-6 seed oils, and the lack of long-chain omega-3s in the diet creates a pro-inflammatory, pro-allergic, pro-thrombotic state.
– Authors of PMC Study, The Importance of Maintaining a Low Omega-6/Omega-3 Ratio
This is where avocado oil presents a powerful upgrade. It is rich in monounsaturated fats (like olive oil) and has a much more favorable fatty acid profile. It provides a creamy texture and neutral taste perfect for dressings without contributing to the omega-6 overload. The same logic applies to eliminating other industrial seed oils like corn, safflower, and sunflower oil from your pantry. Creating a “smart oil portfolio” is a cornerstone of an anti-inflammatory cooking system.
- Use avocado oil for high-heat cooking and neutral-tasting dressings.
- Reserve extra virgin olive oil for finishing dishes and low-heat applications to protect its delicate phenols.
- Drastically reduce or eliminate soybean, corn, and general “vegetable” oils.
- Become a detective: check labels on processed foods like mayonnaise and baked goods for hidden soybean oil.
- Store your high-quality oils in dark, cool places to prevent oxidation and preserve their ingredient integrity.
Maple Syrup vs Agave: Which Has a Lower Glycemic Impact for Baking?
When trying to reduce refined sugar, many health-conscious bakers turn to “natural” liquid sweeteners like agave nectar and maple syrup. Both are often perceived as healthier choices, but their impact on blood sugar and metabolic health differs significantly, especially due to their fructose content. The Glycemic Index (GI) measures how quickly a food raises blood sugar, but the percentage of fructose is equally important, as high doses of fructose are processed almost exclusively by the liver and can contribute to metabolic stress.
Agave nectar, despite its famously low GI (15-30), has a potential downside: its extremely high fructose concentration, which can range from 70-90%. This is significantly higher than even high-fructose corn syrup. While it won’t spike blood sugar as quickly, this massive fructose load puts a heavy burden on the liver. Maple syrup, with a moderate GI of 54, has a more balanced profile with only about 35% fructose. This makes it a more metabolically friendly choice for general use in baking.
However, the audit of your sweetening system shouldn’t stop there. Other options like date paste and coconut sugar offer even more benefits, including fiber and a lower fructose load, making them excellent components of a clean baking strategy.
This comparative table from Healthline’s analysis of natural sweeteners provides a clear guide for making informed choices in your baking.
| Sweetener | GI | Fructose % | Baking Properties |
|---|---|---|---|
| Agave | 15-30 | 70-90% | Extra moisture, less browning |
| Maple Syrup | 54 | 35% | Good browning, balanced moisture |
| Date Paste | 42 | 25% | Adds fiber, dense texture |
| Coconut Sugar | 35 | 39% | 1:1 sugar replacement, caramelizes well |
Choosing the right sweetener is a balancing act. For overall metabolic health, minimizing the fructose load is just as important as managing the immediate glycemic response. Therefore, while agave might seem superior based on GI alone, maple syrup or coconut sugar are often the more prudent choices for regular use in family baking.
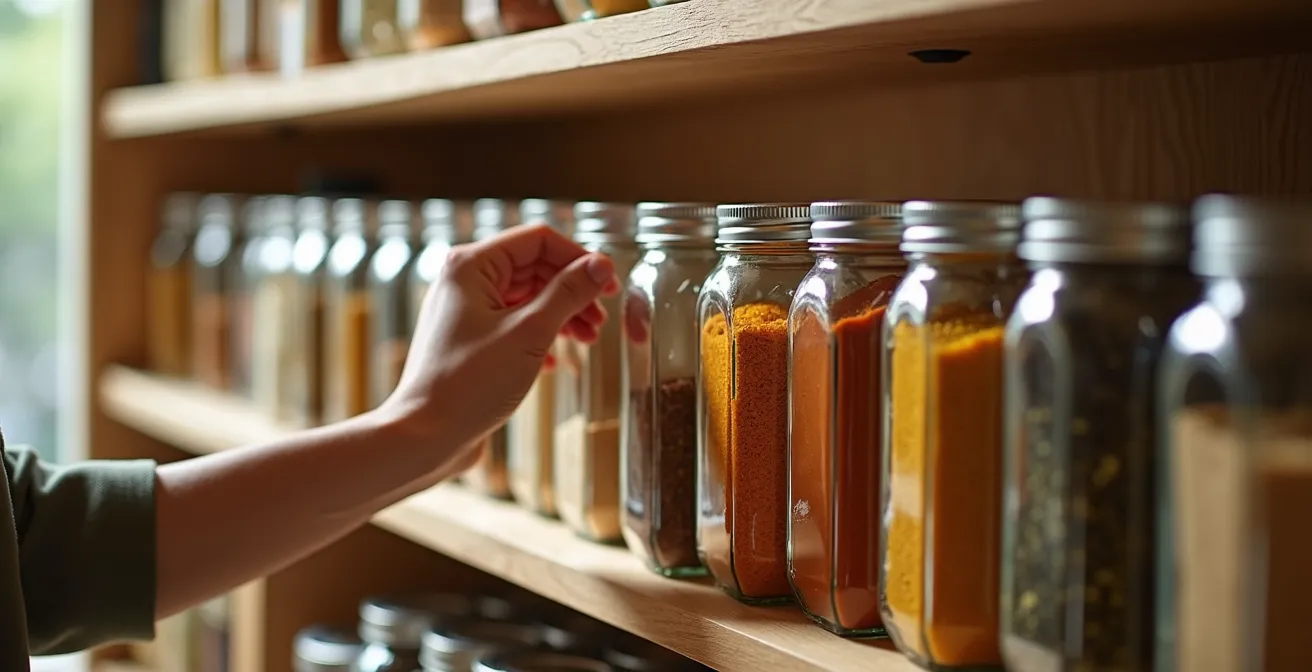
The “Exotic Ingredient” Trap That Wastes Money and Pantry Space
In the quest for exciting, healthy meals, it’s easy to fall into the “exotic ingredient” trap. A single trendy recipe might call for pomegranate molasses, black garlic, and preserved lemons. You buy them, use a tablespoon of each, and then the jars languish in the back of your pantry, eventually expiring. This cycle not only wastes money but also clutters your kitchen, making it harder to maintain a functional cooking system. The solution is not to eat boring food, but to adopt a “capsule pantry” mindset.
A capsule pantry is built on a small collection of versatile, high-impact ingredients that can be combined in countless ways to create a wide range of flavor profiles. Instead of buying a specific sauce for one dish, you learn to create that flavor using your core items. For example, a mix of tahini, lemon juice (acid), and a touch of maple syrup can replicate a creamy, tangy dressing, while miso paste and soy sauce can build a deep umami base for almost any cuisine. This approach prioritizes flavor profile mastery over single-use ingredients.
True Cost Analysis of a Trendy Recipe
A cost analysis from food bloggers at Budget Bytes reveals the hidden expense of chasing trendy recipes. They found that purchasing 3-4 specialty ingredients for a single dish can easily cost $25-35. These items are often used only once, making the per-serving cost of that “one meal” astronomical. In contrast, building the same flavor profiles using capsule pantry staples like soy sauce, vinegar, and ginger costs less than $5 per dish, because the core ingredients are used repeatedly across dozens of meals, drastically lowering their effective cost.
Building this versatile base is the ultimate pantry detox. It simplifies shopping, reduces food waste, and empowers you to be a more creative and intuitive cook.
This minimalist but powerful approach focuses your budget on high-quality versions of essentials—like excellent olive oil, aged balsamic vinegar, and authentic miso paste—that form the backbone of a truly clean and efficient cooking system.
Why Unrefined Oils Turn Bitter and Toxic Above 350°F?
Unrefined oils, such as extra virgin olive oil, flaxseed oil, and walnut oil, are celebrated for their health benefits. They are packed with polyphenols, antioxidants, and delicate nutrients. However, these very compounds that make them healthy are also their Achilles’ heel. When heated past their “smoke point,” these delicate oils begin to break down, a process that not only destroys their nutritional value but also creates harmful compounds. This is a critical source of thermal contaminants in the kitchen.
The smoke point is the temperature at which an oil stops shimmering and starts smoking, signaling its decomposition. As leading Paleo expert Dr. Sarah Ballantyne explains, this is a chemical transformation with toxic results.
The delicate polyphenols and nutrients that make unrefined oil healthy are the very things that break down under heat, creating toxic compounds like acrolein and free radicals.
– Dr. Sarah Ballantyne, The Science of Cooking Oils and Smoke Points
Acrolein is the same chemical that gives burnt food its acrid, bitter taste and is a known irritant. This means that if your oil is smoking, your food is not only losing nutrients but is also being infused with toxic substances. This is why using the right oil for the right job is a non-negotiable rule in a clean cooking system. Refined oils, like avocado oil or light olive oil, have had their delicate compounds removed, which gives them a much higher smoke point and makes them suitable for high-heat cooking like roasting and sautéing. Unrefined oils should be reserved for finishing dishes, dressings, or very low-heat applications.
The following guide is essential for matching the right oil to your cooking method to prevent the formation of toxic compounds.
| Cooking Method | Temperature Range | Best Oil Type | Oils to Avoid |
|---|---|---|---|
| Deep Frying | 350-375°F | Refined avocado, peanut | Unrefined oils, butter |
| Sautéing | 250-320°F | Light olive oil, ghee | Flax, walnut oil |
| Roasting | 400-450°F | Refined coconut, avocado | Extra virgin olive oil |
| Dressing/Finishing | Room temp | Extra virgin olive, walnut | Refined oils |
Key takeaways
- “Natural flavors” are lab-processed and can hide dozens of unlisted synthetic additives like solvents and preservatives.
- Your cookware is part of your ingredient list; overheated non-stick pans (both Teflon and ceramic) can release harmful compounds into your food.
- The foundation of clean cooking is a “Cooking System Audit” that evaluates how ingredients, tools, and techniques work together, not just avoiding a list of bad foods.
Steaming vs Boiling: Which Method Preserves the Most Nutrients in Kale?
The final stage of your cooking system audit is ensuring that the nutrient-dense food you’ve carefully selected actually delivers those nutrients to your family. The cooking method you choose can be the difference between a plate full of vitamins and one of depleted fiber. With delicate leafy greens like kale, this is especially true. Boiling is one of the most destructive methods, as water-soluble vitamins like Vitamin C and the B-complex vitamins leach out of the vegetable and into the cooking water, which is then typically discarded.
Steaming is a far superior method for nutrient preservation. Because the kale isn’t submerged in water, far fewer of its valuable nutrients are lost. The goal is to cook it briefly—just until it turns bright green and slightly tender—to maximize both nutrient retention and digestibility. Over-steaming can also lead to nutrient loss, so timing is key. But the principle extends beyond just steaming.
Adopting a range of nutrient-preserving techniques ensures you get the most out of your healthy ingredients. From flash stir-frying to massaging raw greens, these methods protect the delicate compounds you’re paying for. This is the last, crucial step in ensuring your clean cooking efforts translate to real nutritional benefits.
- Steam for 3-5 minutes until bright green but still crisp to preserve water-soluble vitamins.
- Flash stir-fry with minimal high-smoke-point oil to protect fat-soluble vitamins A, D, E, and K.
- Microwave with just a couple of tablespoons of water as a rapid alternative to steaming.
- Massage raw kale with lemon juice and olive oil; the acid and fat help break down tough fibers while keeping all nutrients intact.
- Save vegetable cooking water if you must boil. Use it as a nutrient-rich base for soups, stews, or for cooking grains.
Now that you have audited every part of your cooking system, from pantry to pan to plate, the next step is to implement these changes consistently. Start with one small swap—like making your own broth this weekend or switching your cooking oil—to build momentum toward a truly clean and nourishing kitchen for your family.