The color of your miso is a clue, not a rule; understanding the fermentation process behind it is the true secret to mastering Asian pantry staples.
- Light misos (white, yellow) are younger and sweeter, ideal for delicate applications, while dark misos (red, brown) are aged longer for intense, umami-rich flavors suited for robust dishes.
- This principle of aging extends to other ferments: light soy sauce prioritizes saltiness for seasoning, while dark soy sauce adds color and viscosity from longer processing.
Recommendation: Instead of memorizing which color to use, think about the fermentation time. For a quick, bright flavor, choose a young ferment. For deep, complex umami, reach for an aged one.
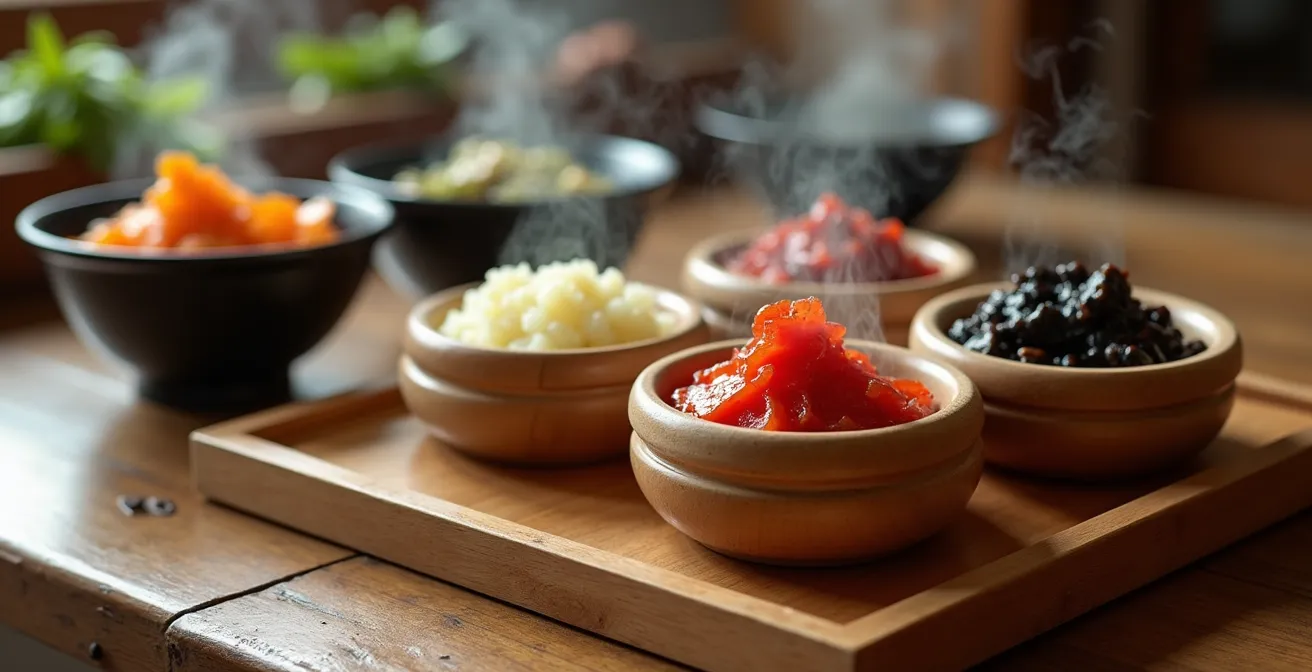
Walking down the Asian food aisle can feel overwhelming. You see tubs of paste labeled white, yellow, and red miso, alongside bottles of light and dark soy sauce, blocks of tempeh, and maybe even the infamous, stringy natto. The common advice is a simple color code: “light for soup, dark for marinade.” While not entirely wrong, this advice is like telling a painter to use blue for the sky and green for the grass—it misses the nuance, the artistry, and most importantly, the science that allows for true mastery. The real key to unlocking the potential of these ingredients lies not in their color, but in understanding the fermentation spectrum they represent.
This guide moves beyond simplistic rules. We will explore the “why” behind the “what,” treating these soy-based ingredients as products of a living, breathing process. By understanding how time, temperature, and ingredients like koji mold transform a simple soybean, you’ll be able to choose the perfect product for any culinary application. We’ll delve into the critical mistake that negates miso’s primary health benefit, decode the functional differences between soy sauces, and even tackle techniques to make challenging ingredients like tempeh and natto delicious for any palate. This is not just a shopping guide; it’s a foundation in fermentation science that will permanently change how you cook.
This article will provide a clear roadmap, decoding the most common fermented soy products and related pantry staples. Follow along to transform confusion into culinary confidence.
Summary: A Deep Dive into Miso, Soy Sauce, and Other Fermented Staples
- Why Boiling Miso Soup Kills the Gut Health Benefits?
- Light vs Dark Soy Sauce: Which One Ruins the Color of Your Dish?
- Steaming Before Frying: How to Remove the Bitter Taste from Tempeh?
- How to Eat Natto if You Hate the Slimy Texture?
- Does Miso Paste Expire or Just Get Salty in the Fridge?
- Sauerkraut vs Kimchi: Which Ferment is Easier for Beginners?
- Gochujang and Miso: Which Panty Staples Offer the Most Versatility?
- The “Velvetting” Technique: How to Make Chicken as Soft as Chinese Takeout?
Why Boiling Miso Soup Kills the Gut Health Benefits?
The primary health claim associated with miso is its rich content of probiotics—beneficial live bacteria that support gut health. However, these microorganisms are delicate. The most common mistake in preparing miso soup is adding the paste to boiling water. High heat destroys these beneficial cultures, effectively turning a vibrant, living food into a simple salty seasoning. To preserve probiotic viability, the miso paste should be added only after the heat has been turned off and the soup has cooled slightly.
The key is to maintain a temperature that is warm enough to dissolve the paste but cool enough to keep the probiotics alive. Traditional methods aim for a very specific temperature window to achieve this balance.
Japanese traditional miso preparation methods
A study of traditional Japanese cooking methods reveals a critical step often missed in Western kitchens. A deep dive into home cooking practices by resources like Just One Cookbook shows that most home cooks turn off the heat before adding miso paste. They aim to maintain temperatures between 120°F and 158°F (50°C to 70°C) to preserve the delicate probiotics. In contrast, many restaurants prioritize food safety and serving temperature over probiotic retention, often serving scorching hot soup where the beneficial bacteria have been neutralized.
To properly incorporate the paste, take a small amount of the warm (not boiling) broth from your pot into a separate small bowl. Whisk the miso paste into this smaller portion until it’s a smooth slurry, then pour this mixture back into the main pot. This ensures the paste dissolves evenly without clumps and, more importantly, without being exposed to destructive, boiling temperatures.
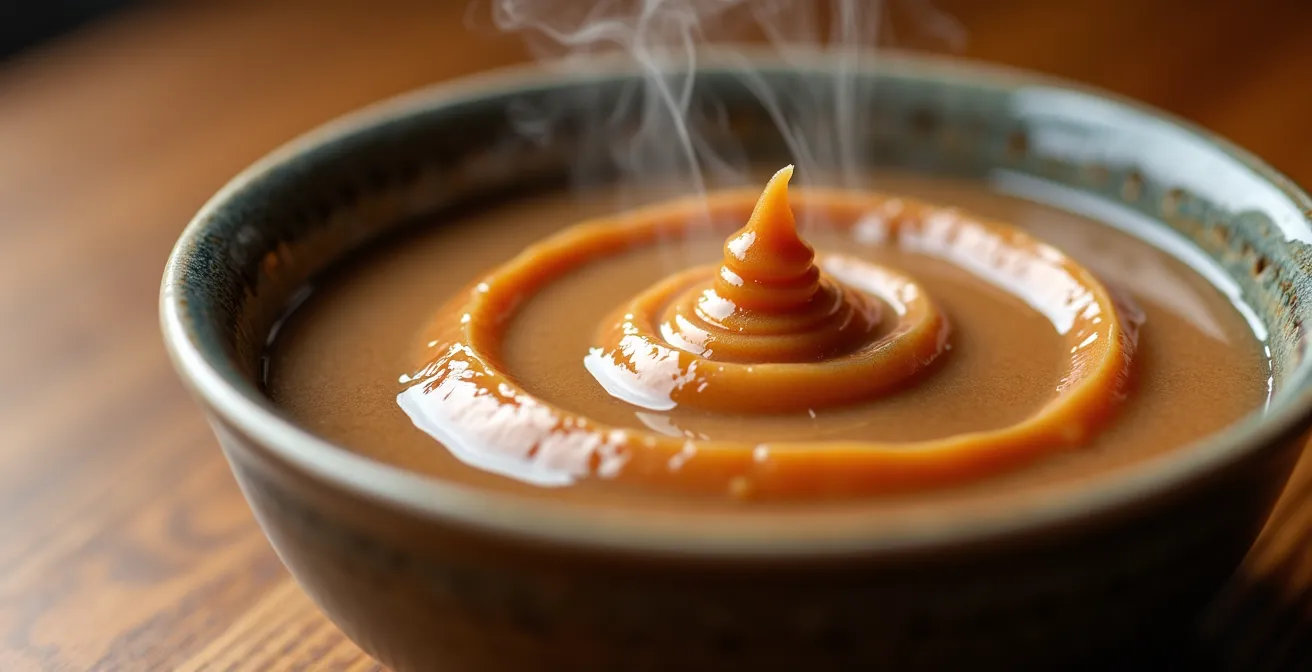
As you can see, the texture of the miso as it dissolves is a sign of its quality. This moment of integration is where you are either preserving its life or reducing it to mere flavor. This simple change in technique is the difference between making seasoned broth and a truly functional, probiotic-rich food.
Light vs Dark Soy Sauce: Which One Ruins the Color of Your Dish?
Just like miso, soy sauce exists on a fermentation spectrum. The primary difference between “light” and “dark” soy sauce isn’t just color—it’s time, viscosity, and saltiness, all dictated by the fermentation and aging process. Using the wrong one can dramatically alter not just the flavor, but the final appearance of your dish. Light soy sauce (also known as “regular” or “all-purpose”) is the workhorse for seasoning. It’s saltier, thinner, and has a light reddish-brown, transparent color. It adds umami and salt without significantly darkening the food, making it ideal for marinades, stir-fries, and dipping sauces where you want to taste the seasoning without staining the ingredients.
Dark soy sauce, on the other hand, is aged for a longer period, often with the addition of molasses or caramel color. This results in a much thicker, darker, and less salty liquid. Its primary function is not to add salt, but to add a deep, rich color and a subtle sweetness. Using dark soy sauce in a delicate chicken marinade would stain the meat an unappetizing dark brown, while using light soy sauce for a red-braised pork belly would fail to deliver that signature luscious, dark glaze. As The Kitchn’s Editorial Team notes in their guide, the core principle is universal across many ferments:
The darker the color, the longer it’s been fermented and the stronger it will taste
– The Kitchn Editorial Team, The Kitchn’s Guide to Miso Types
This comparative table breaks down the essential differences to guide your choice in the kitchen.
| Characteristic | Light Soy Sauce | Dark Soy Sauce |
|---|---|---|
| Color Impact | Minimal, transparent amber | Deep brown to black |
| Viscosity | Thin, watery | Thick, syrupy |
| Best Use | Marinades, dipping | Glazing, color enhancement |
| Salt Content | Higher | Lower |
| Fermentation Time | Shorter | Longer |
Ultimately, a well-stocked pantry should contain both. Think of them not as interchangeable, but as distinct tools: light soy sauce is for seasoning, and dark soy sauce is for coloring and finishing. Mastering this distinction is a fundamental step in controlling the final outcome of your dishes.
Steaming Before Frying: How to Remove the Bitter Taste from Tempeh?
Tempeh, a fermented soybean cake originating from Indonesia, is a fantastic source of plant-based protein. However, many home cooks are put off by its occasionally bitter or earthy flavor. This bitterness is a natural result of compounds produced during fermentation and can be especially pronounced in pasteurized, vacuum-sealed products. The secret to consistently delicious tempeh that eagerly absorbs marinades is a simple pre-cooking step: steaming.
Steaming the tempeh for about 10 minutes before marinating or frying works wonders. This process helps to denature the enzymes and leach out the water-soluble compounds that cause the bitter taste. It also “opens up” the structure of the tempeh, making it softer and more porous, much like a sponge ready to soak up any flavors you introduce. While steaming is the most common method, simmering in broth or even dry-toasting can achieve a similar effect by either infusing flavor or masking bitterness with nutty notes.
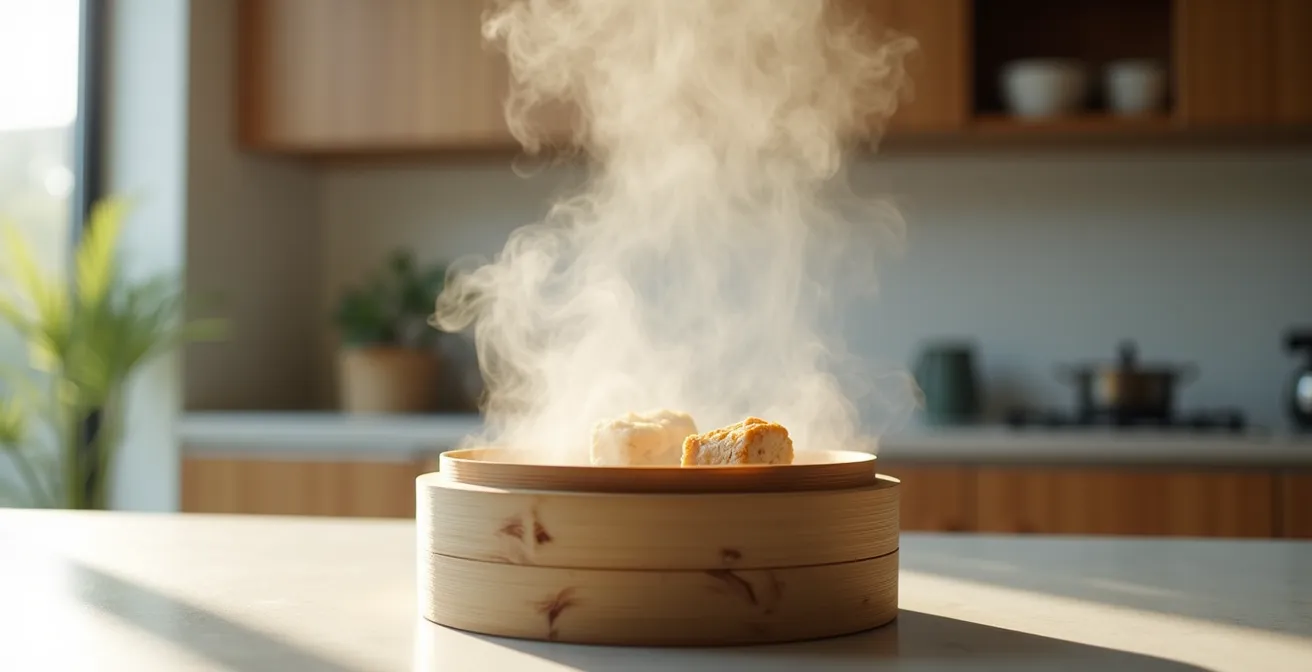
The visual of steam rising from the tempeh is the process of purification in action. This extra step is not just about removing an unwanted flavor; it’s about preparing the canvas for the flavors you want to add. After steaming, pat the tempeh dry, and it will be perfectly primed for your favorite marinade or for pan-frying to a golden, crispy finish.
Here are three effective methods to prepare your tempeh and eliminate any trace of bitterness:
- Steam for 10 minutes: This is the classic method to denature enzymes and remove water-soluble bitter compounds.
- Simmer in seasoned broth: This technique both removes bitterness and infuses the tempeh with a savory base flavor from the start.
- Dry-toast in a pan: Toasting slices in a dry pan over medium heat adds a pleasant, nutty flavor that effectively masks any residual bitter notes.
How to Eat Natto if You Hate the Slimy Texture?
Natto is perhaps the most divisive of all fermented soy products. Revered in Japan for its powerful umami flavor and significant health benefits, it’s often a hard-sell for Westerners due to its pungent aroma and, most notably, its characteristic slimy, stringy texture. This slime, called “neba-neba” in Japanese, is composed of polyglutamic acid (PGA), a substance produced by the *Bacillus subtilis* bacteria during fermentation. While this slime is packed with umami and beneficial for digestion, it can be a major textural hurdle. Fermented foods are a massive and growing market, especially in the Asia Pacific region which, according to one report, leads the fermented food market with 38.1% of the share, yet natto remains a niche product elsewhere.
So, how can one access the benefits of natto without succumbing to the slime? The key is to incorporate it into dishes where the texture is either masked or complemented. One of the easiest ways is to mix it with other ingredients. Stirring natto vigorously with its accompanying packets of karashi mustard and soy-based tare (sauce) actually increases the sliminess, so for beginners, less stirring is more. After a gentle mix, incorporate it into a bowl of hot rice with a raw egg yolk, chopped scallions, and a dash of sesame oil. The heat from the rice and the richness of the yolk help to temper the stickiness.
Another effective strategy is to use acid to your advantage. A few drops of vinegar or a dollop of mustard can help to break down the long strands of PGA, reducing the stringiness. You can also incorporate natto into other dishes, such as fried rice, omelets (natto-maki tamago), or even on top of toast with avocado. Frying natto in a little oil can also change its texture, making it less sticky and adding a crispy dimension. The goal is to not fight the texture, but to integrate it into a larger, more familiar context, allowing your palate to adjust gradually.
Does Miso Paste Expire or Just Get Salty in the Fridge?
A common question for anyone who has purchased a tub of miso is what to do with the leftovers. It often sits in the back of the fridge for months, leading to a simple question: does it go bad? The short answer is no, not in the traditional sense of spoilage. Miso is a preserved food, and its high salt content acts as a powerful natural preservative, making it incredibly resistant to harmful bacteria.
Instead of “expiring,” miso “ages.” It’s a living product, and the fermentation process continues, albeit very slowly, in the cold environment of your refrigerator. This is why it’s more accurate to think of miso like a fine wine or aged cheese. The team at Just One Cookbook puts it perfectly:
Miso is a living product that ‘ages,’ not ‘expires,’ much like fine wine or cheese. Due to its high salt content, it doesn’t spoil but continues to slowly ferment
– Just One Cookbook Editorial Team, Just One Cookbook – What is Miso?
Over time, you will notice changes. The color will darken due to oxidation and the Maillard reaction, and the flavor may become deeper and saltier. A light, sweet white miso might turn a beige color and lose some of its delicacy after a year, while a robust red miso might become even more profoundly savory. This is not spoilage; it’s maturation. As long as there is no visible mold (which is rare if stored properly), the miso is safe to eat.
Miso storage and aging study
To ensure longevity, proper storage is key. Research highlighted by health authorities confirms this principle of preservation. As reported by sources analyzing miso’s health properties, unopened miso paste can be kept at room temperature for extended periods. Once opened, it should be stored in an airtight container in the refrigerator. Pressing a piece of plastic wrap directly onto the surface of the miso before closing the lid can further prevent oxidation. With this method, quality miso maintains a consistent and safe-to-eat profile for up to a year or even longer, though the flavor and color will continue to evolve.
Sauerkraut vs Kimchi: Which Ferment is Easier for Beginners?
For those looking to venture into home fermentation, sauerkraut and kimchi are two of the most popular gateways. Both are based on fermented cabbage and are packed with probiotics, but they represent very different levels of complexity, making one a much better starting point for beginners. Sauerkraut is the epitome of simplicity. At its most basic, it requires only two ingredients: cabbage and salt. The process involves shredding cabbage, massaging it with salt to draw out water, and packing it tightly into a jar to ferment for several weeks. Its flavor is straightforward: clean, tangy, and sour.
Kimchi, on the other hand, is a world of complexity and flavor. While also cabbage-based (typically napa cabbage), a traditional kimchi recipe can involve a dozen or more ingredients, including Korean chili flakes (gochugaru), garlic, ginger, fish sauce, and various vegetables. Its fermentation process is also much faster, often ready in under a week. The flavor is a dynamic explosion of spicy, sour, savory, and umami. The global appetite for this complex ferment is undeniable; a 2024 report valued the global kimchi market at $4.19 billion.
For a true beginner, sauerkraut is undoubtedly the easier choice. The minimal ingredients and longer, more stable fermentation process mean there are fewer variables to manage and less that can go wrong. It’s an excellent project to learn the fundamental principles of anaerobic fermentation, salt ratios, and patience. The following table highlights the key differences for a novice fermenter.
| Aspect | Sauerkraut | Kimchi |
|---|---|---|
| Ingredients Needed | 2 (cabbage, salt) | 10+ (including gochugaru) |
| Fermentation Time | 3-4 weeks | 3-7 days |
| Difficulty Level | Beginner | Intermediate |
| Flavor Complexity | Simple, tangy | Complex, spicy |
| Troubleshooting | Easier | More variables |
Once you have successfully made a few batches of sauerkraut and are comfortable with the process, graduating to kimchi is a logical and exciting next step. It allows you to apply your foundational knowledge while playing with a much broader and more vibrant palette of flavors.
Gochujang and Miso: Which Panty Staples Offer the Most Versatility?
Both gochujang and miso are fermented soybean pastes that deliver a powerful punch of umami, making them indispensable pantry staples. While they share a common base, their flavor profiles and best uses offer different kinds of versatility. Miso’s versatility comes from its range. As we’ve discussed, the spectrum from light, sweet white miso to dark, robust red miso allows it to be used in everything from delicate soups and dressings to hearty glazes and marinades. Its flavor is primarily savory and salty.
Gochujang, a cornerstone of Korean cuisine, brings a different dimension: heat and sweetness. It is also a fermented soybean paste but includes gochugaru (Korean chili powder) and glutinous rice, which adds a lingering sweetness and a thick, sticky texture. Gochujang’s versatility lies in its ability to provide a complete flavor base of savory, sweet, and spicy all in one. It shines in marinades for Korean BBQ, as a base for stews (jjigae), or simply stirred into rice. The immense popularity of such complex fermented foods is reflected in market data, which estimated that the global fermented foods market reached $584.7 billion in 2024.
So which is more versatile? It depends on your cooking style. Miso is a foundational flavor you can build upon, while gochujang is a more complete, multi-faceted flavor bomb. However, the true magic happens when you stop seeing them as an either/or choice and start using them together. Blending the deep, salty umami of miso with the sweet heat of gochujang creates a marinade or glaze with unparalleled depth and complexity. This combination offers the best of both worlds and is a testament to the power of layering fermented flavors.
Action Plan: Creative Uses for a Gochujang-Miso Blend
- Marinade Base: Mix a 3:1 ratio of miso to gochujang for a perfectly balanced umami-heat foundation for meats or tofu.
- Compound Butter: Blend the paste mix with softened butter for an instant flavor boost on grilled steak, corn on the cob, or bread.
- Salad Dressing: Whisk the blend into a vinaigrette with sesame oil and rice vinegar for a spicy, savory dressing.
- Glaze for Roasting: Use the paste as a base for glazing roasted vegetables like carrots and Brussels sprouts, or proteins like salmon or chicken.
- Elevated Spread: Stir a small amount into mayonnaise or Greek yogurt for a complex, spicy spread for sandwiches and wraps.
Key Takeaways
- Fermentation is a spectrum: Age, not just color, dictates the flavor intensity of products like miso and soy sauce.
- Technique matters: How you use a fermented ingredient (e.g., not boiling miso, steaming tempeh) is as important as which one you choose.
- Synergy is key: Combining different ferments, like miso and gochujang, creates layers of flavor that a single ingredient cannot achieve.
The “Velvetting” Technique: How to Make Chicken as Soft as Chinese Takeout?
One of the great mysteries of Chinese restaurant food is the impossibly tender and silky texture of the chicken in stir-fries. This isn’t the result of a special cut of meat, but a classic Chinese cooking technique called velveting (or *guo you* in Mandarin). This process involves coating small pieces of meat—typically chicken, pork, or shrimp—in a mixture of egg white, cornstarch, and rice wine before quickly blanching them in either hot oil or water. This creates a protective “velvet” coating that locks in moisture during the high heat of stir-frying, resulting in an incredibly soft and succulent texture.
The cornstarch and egg white mixture forms a barrier that shields the meat’s muscle fibers from the wok’s intense heat, preventing them from tightening up and becoming tough. The blanching step gently pre-cooks the meat, ensuring it cooks through quickly in the final stir-fry without drying out. While professional restaurants often use oil-velveting for the best texture, water-velveting is a much more accessible and less messy method for home cooks that yields nearly identical results.
Restaurant vs Home Velveting Methods
The secret to replicating restaurant-quality texture at home lies in understanding the subtle differences in technique. Professional Chinese restaurants typically use oil-velveting, blanching the coated chicken in oil at around 280°F for ultimate tenderness. Home cooks, however, can achieve very similar results with the simpler water-velveting method, blanching the meat in water held at a gentle 140°F. The key difference often lies in the coating itself: restaurants may use a higher ratio of cornstarch to egg white, which creates a more robust protective barrier that can withstand the rigors of high-heat wok cooking. For home use, a simple coating of one egg white and one tablespoon of cornstarch per pound of chicken is highly effective.
To try this at home, slice your chicken breast, toss it in the cornstarch-egg white slurry, and let it sit for 15-30 minutes. Then, bring a pot of water to a bare simmer (do not boil), drop in the chicken pieces, and gently poach for just a minute or two until they turn opaque. Remove with a slotted spoon, and they are ready to be added to your stir-fry in the final minute of cooking. This one extra step will permanently elevate your homemade stir-fries from good to unforgettable.
By applying this technique, you are putting the principles of food science into practice, transforming a common ingredient into something exceptional. Start today by applying the velveting technique to your next stir-fry to experience the difference firsthand.
Frequently Asked Questions About Miso Paste Varieties: Which Color Should You Buy for Soup vs Marinades?
What causes natto’s slimy texture?
Polyglutamic acid (PGA) produced during fermentation creates the characteristic sticky strands.
Can adding acid reduce sliminess?
Yes, vinegar or mustard can break the PGA strands and reduce stickiness.
Is the slime actually beneficial?
The PGA contains umami compounds and may have health benefits including improved digestion.