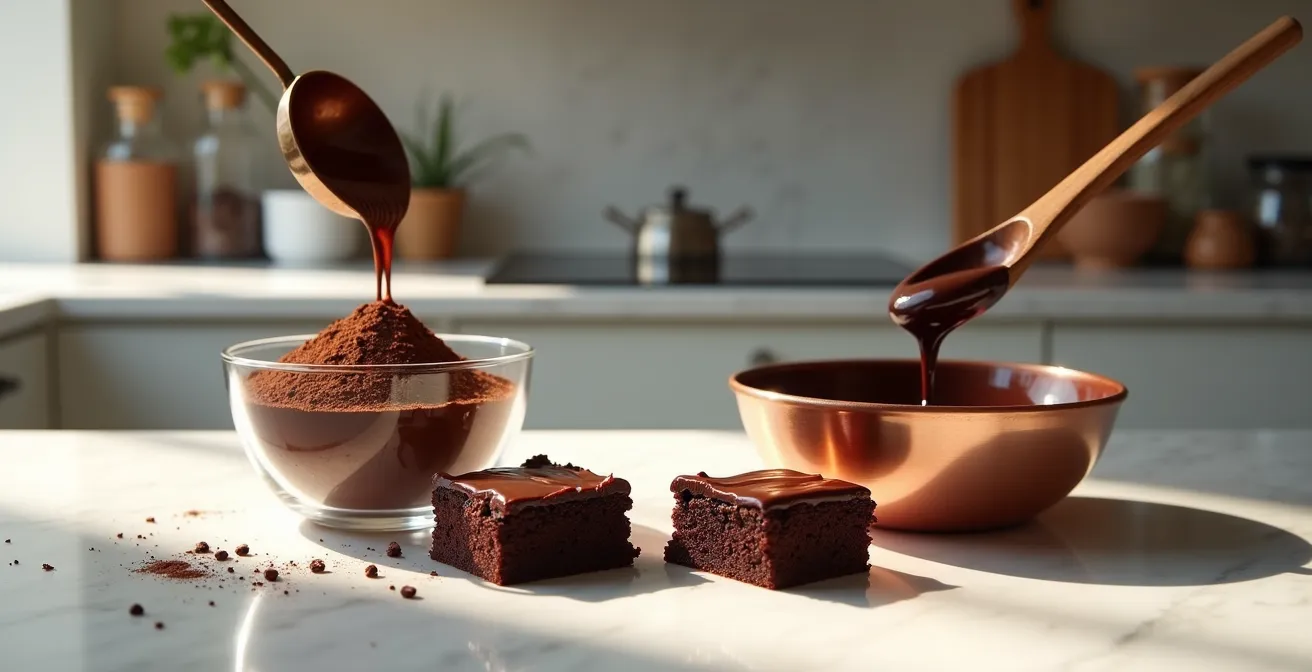
The secret to intense chocolate flavor isn’t choosing powder *or* bar, but mastering how to use both by understanding their underlying chemistry.
- Cocoa powder provides concentrated, sharp chocolate notes, while real chocolate (couverture) contributes fat, structure, and a glossy finish.
- Flavor intensity can be dramatically amplified by controlling pH reactions, “blooming” the powder in specific liquids, and even using umami-rich ingredients.
Recommendation: Stop treating cocoa powder and chocolate as substitutes. Instead, learn to deploy them as a system, using powder for core flavor and real chocolate for texture and finish.
For any serious baker, the disappointment is all too familiar: a “decadent” chocolate cake that tastes more of sugar than of cocoa, or a brownie that promises fudgy intensity but delivers a flat, one-dimensional sweetness. The common advice is to simply “use better ingredients” or add more chocolate, but this often leads to a heavier, denser result without achieving that elusive, profound cocoa flavor. The conversation quickly defaults to a simple duel: pure cocoa powder versus a high-quality chocolate bar.
This debate, however, misses the point entirely. The path to truly spectacular chocolate flavor isn’t about choosing one over the other. It’s about understanding that cocoa powder and real chocolate are fundamentally different tools, each governed by scientific principles. True mastery lies not in following a recipe, but in manipulating the chemistry of your ingredients—controlling pH, unlocking volatile compounds through hydration, and understanding how fat content dictates both flavor and texture.
But what if the key to unlocking the deepest chocolate notes wasn’t even in the chocolate aisle? What if a secret weapon from the savory pantry could transform your baking? This guide moves beyond the simplistic “powder vs. bar” argument. We will deconstruct the science of cocoa, exploring how chemical reactions dictate flavor, how terroir shapes a bean’s personality, and how to apply professional techniques to create baked goods with the complex, resonant chocolate intensity of an artisan creation.
This article provides a comprehensive look into the science and strategy behind achieving the ultimate chocolate flavor. Below is a summary of the key areas we will explore to transform your baking from good to truly exceptional.
Summary: A Deep Dive into Chocolate Flavor
- Why Baking Soda Require Natural Cocoa to React Properly?
- How to Bloom Cocoa in Hot Water to Release 50% More Flavor?
- Madagascar vs Ecuador: How Soil Affects Cocoa Fruitiness?
- Does Cocoa Powder Expire and Lose Its Potency After 6 Months?
- How to Use Black Cocoa for “Oreo” Style Color Without Bitterness?
- Supermarket Chips vs Couverture: Is the Price Difference Worth It?
- Dissolving Anchovies: How to Use Them as a Secret Weapon in Stir-Fries?
- How to Create Decadent Chocolate Treats at Home That Look Like Artisan Shop Creations?
Why Baking Soda Require Natural Cocoa to React Properly?
The choice between natural and Dutch-processed cocoa powder is far more than a matter of color; it’s a fundamental chemical decision that dictates your recipe’s success. The key lies in pH and leavening. Natural cocoa powder is acidic, with a pH of around 5. This inherent acidity is the crucial ingredient that baking soda (an alkali) needs to initiate a chemical reaction. When they combine in a wet batter, they produce carbon dioxide gas, which creates the lift and tender crumb in cakes and muffins. Without this acidic component, baking soda has nothing to react with, resulting in a dense, soapy-tasting bake.
Dutch-processed cocoa, on the other hand, has been washed with an alkaline solution, neutralizing its acidity to a pH of 7 or 8. This process mellows its flavor and gives it a darker color, but it also renders it inert in the presence of baking soda. Therefore, recipes calling for Dutch-processed cocoa will typically use baking powder, which is a self-contained leavening system containing both an acid and a base. Understanding this distinction is vital, especially since natural cocoa varieties dominate the baking market with 75.4% of the share, making it the default in many pantries.
Mixing these up can lead to disaster. Using natural cocoa with only baking powder might result in a bake that’s too acidic, with a metallic aftertaste. Conversely, using Dutch cocoa with only baking soda will lead to a complete failure to rise. The reaction between natural cocoa and baking soda is also responsible for the classic reddish-brown hue of desserts like Devil’s Food cake—a visual cue that the chemistry is working perfectly.
How to Bloom Cocoa in Hot Water to Release 50% More Flavor?
One of the most transformative yet simple techniques in a baker’s arsenal is “blooming” cocoa powder. This isn’t just about mixing; it’s a process of molecular hydration that unlocks a huge spectrum of flavor. Cocoa powder consists of dry, tightly packed particles of cocoa solids, with flavor compounds trapped inside. Simply adding it to a dry flour mix leaves many of these flavors locked away. By blooming it—whisking the powder with a hot liquid and letting it sit for a few minutes—you force the particles to swell and dissolve, releasing trapped volatile flavor and aroma compounds into your batter.
The result is a dramatically deeper, richer, and more complex chocolate flavor, often perceived as being up to 50% more intense. This process also ensures the cocoa is evenly hydrated, preventing dry clumps and creating a smoother final texture. While hot water is the most common blooming medium for a clean, pure chocolate taste, a true connoisseur knows that the type of liquid used can strategically alter the flavor profile. Different liquids extract different compounds based on their chemical makeup.

As the illustration above shows, blooming is a microscopic transformation. Fat-soluble flavor molecules, for instance, are better preserved and extracted by melted butter, lending a creamy richness perfect for fudgy brownies. Hot coffee, with its own complex set of organic acids, can enhance cocoa’s roasted notes and add an extra layer of depth. The choice of blooming medium is not arbitrary; it’s a deliberate decision to engineer the final flavor profile of your dessert.
This table outlines how different liquids impact the flavor extraction process, allowing you to tailor your blooming technique to your desired outcome.
| Blooming Medium | Temperature Range | Flavor Impact | Best Use Case |
|---|---|---|---|
| Hot Water | 85-95°C | Clean, pure chocolate notes | Cakes, basic brownies |
| Hot Coffee | 80-90°C | Enhanced depth, slight bitterness | Dark chocolate desserts |
| Melted Butter | 50-60°C | Rich, creamy, preserves fat-soluble compounds | Fudgy brownies, cookies |
| Neutral Oil | 40-50°C | Smooth texture, mild enhancement | Vegan baking |
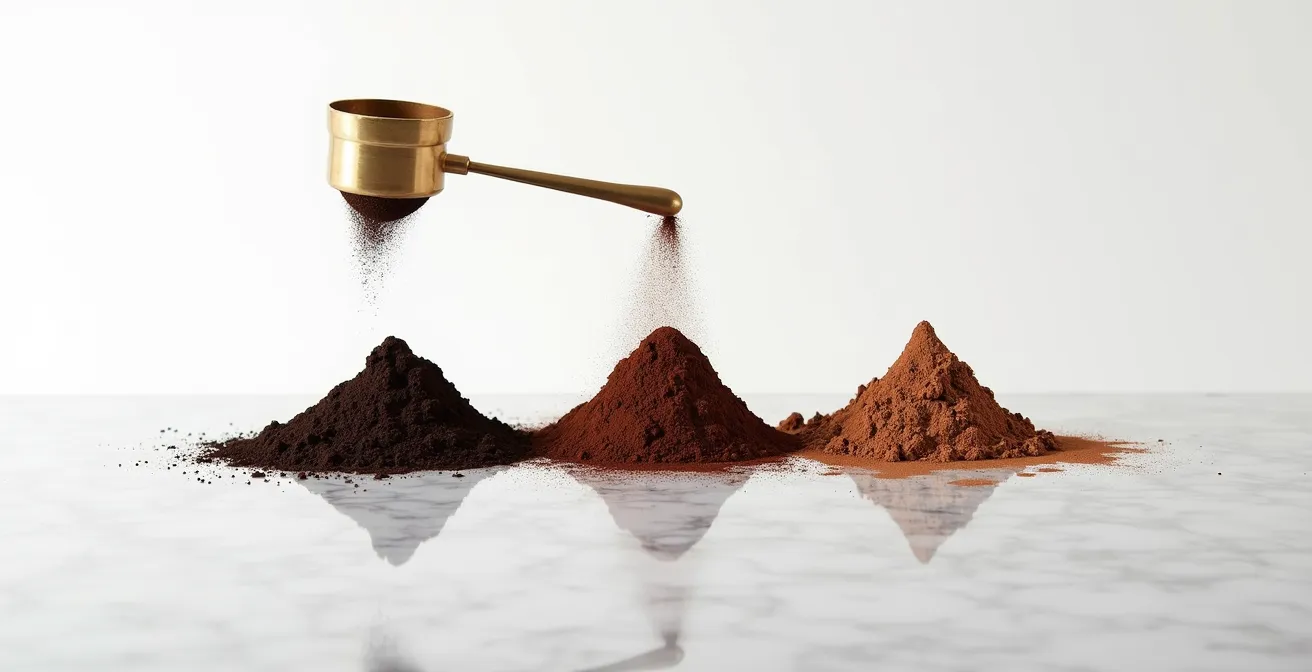
Madagascar vs Ecuador: How Soil Affects Cocoa Fruitiness?
Just like with wine grapes or coffee beans, the concept of terroir is paramount in the world of high-end cocoa. The environment where a cacao bean is grown—the soil composition, climate, and altitude—imparts a unique and unmistakable fingerprint on its final flavor. A baker who only thinks in terms of “cocoa powder” is missing the most exciting dimension of flavor. A Forastero bean from Ecuador, for example, is known for its classic, robust, and earthy chocolate notes. In contrast, a Criollo or Trinitario bean from Madagascar is prized for its vibrant, fruity, and often citrusy profile.
This difference is not subtle; it’s the distinction between a deep, resonant bass note and a bright, complex melody. The soil in Madagascar is rich in certain minerals that encourage the development of these fruity esters during fermentation. This is why “single-origin” has become such a crucial term in the premium chocolate world. It’s a guarantee that the flavor profile is a pure expression of a specific place. The growing interest in this is clear, as North American premium chocolate makers now source single-origin beans, representing 29.2% of their supply.
However, terroir is only half the story. As experts in bean-to-bar chocolate emphasize, the post-harvest processing—fermentation, drying, and roasting—is just as critical. This is where the chocolatier’s craft comes in, as they can choose to either mute or amplify the bean’s inherent terroir. A light roast on a Madagascan bean will preserve its bright, acidic fruitiness, while a heavier roast might develop deeper, jammier notes. For a serious baker, choosing a single-origin cocoa powder is the first step toward building a dessert with a specific flavor narrative, whether it’s a brownie with the nutty notes of Venezuelan cacao or a mousse with the red-fruit brightness of Peruvian beans.
Does Cocoa Powder Expire and Lose Its Potency After 6 Months?
The question of cocoa powder’s shelf life is a common one, but the “best by” date on the container tells an incomplete story. Unlike many baking ingredients, cocoa powder doesn’t “spoil” in a way that makes it unsafe to eat. However, it can and does lose its potency, leading to a dull, dusty flavor. The primary enemy of cocoa powder is not time, but oxidation and fat rancidity. Its complex, volatile aroma compounds are fragile and degrade when exposed to air, light, and heat over time. An airtight container stored in a cool, dark place is non-negotiable.
The most significant factor in its longevity, however, is its fat content. Cocoa powder is what’s left after most of the cocoa butter has been pressed out of the cacao bean. Standard natural cocoa powders contain 10-12% fat. Premium, “high-fat” or European-style powders can contain 20-24% fat. While this higher fat content provides a richer mouthfeel and more profound flavor, it also dramatically shortens the powder’s shelf life. Fat is susceptible to going rancid, which imparts a stale, crayon-like off-flavor to your baked goods.
For this reason, a high-fat cocoa powder is at its peak within the first 6-8 months of opening, while a lower-fat variety might remain potent for up to 18 months under ideal storage conditions. Professional bakeries often use this to their advantage: they might use a more stable, lower-fat cocoa for bulk production or items with a longer shelf life, while reserving the expensive, high-fat, and more perishable varieties for immediate use in specialty desserts where flavor is paramount. A simple sniff test is your best guide: if the cocoa smells richly of chocolate, it’s good to use. If it smells faint, dusty, or even slightly off, it will only detract from your final product.
How to Use Black Cocoa for “Oreo” Style Color Without Bitterness?
Black cocoa powder, with its dramatic, jet-black hue, is the secret behind the iconic color of Oreo cookies. However, bakers who try to substitute it one-for-one in a recipe are often met with a harsh, bitter, and disappointingly non-chocolatey flavor. This is because black cocoa is the most extreme form of Dutch-processing; it has been so heavily treated with alkali that it has a pH of 8 or higher. This process destroys most of the nuanced, fruity, and floral flavor volatiles that define a good chocolate taste, leaving behind a stark, ashy, and almost savory flavor profile.
Therefore, the primary rule of black cocoa is to treat it as a coloring agent, not a flavoring agent. You use it for its visual impact, not for its taste. The key to achieving that striking dark color without sacrificing flavor is strategic blending. By combining black cocoa with a high-quality, flavorful Dutch-processed cocoa, you can get the best of both worlds: deep color from the black cocoa and rich, rounded chocolate flavor from the standard Dutch cocoa. Using 100% black cocoa is almost never recommended for anything other than a light dusting for visual effect.
The ideal ratio depends on your goal. For a classic Oreo-style cookie, a blend of 80% Dutch-processed cocoa and 20% black cocoa provides a deep, dark brown color with a balanced flavor. For a more dramatic black velvet cake, you might push the black cocoa up to 40% of the blend, but you must be prepared for a more assertive, slightly bitter edge that needs to be balanced with sweetness and fat in the recipe.
This blending chart provides a starting point for controlling both color and flavor when working with this potent ingredient.
| Blend Ratio | Color Result | Flavor Profile | Recommended Use |
|---|---|---|---|
| 100% Black | Ultra-dark, almost black | Bitter, ashy, non-chocolate | Visual garnish only |
| 80% Dutch / 20% Black | Deep dark brown | Balanced, mild bitterness | Oreo-style cookies |
| 60% Dutch / 40% Black | Very dark chocolate | Assertive, slightly bitter | Dramatic cakes |
| Triple blend (equal parts) | Rich dark brown | Complex, rounded | Premium brownies |
Supermarket Chips vs Couverture: Is the Price Difference Worth It?
The debate between standard supermarket chocolate chips and high-end couverture chocolate often comes down to price, but the real difference lies in their fundamental purpose and composition. Supermarket chips are engineered for one thing: to hold their shape during baking. They contain a lower percentage of cocoa butter and often include stabilizers like vegetable oil and extra emulsifiers. This is why they emerge from a cookie as distinct, chip-shaped morsels rather than melting into gooey puddles.
Couverture chocolate, by contrast, is designed to melt. It is defined by its high cocoa butter content (typically 31% or more) and fine grind, which gives it superior fluidity when melted. This makes it ideal for applications where a smooth, seamless melt is critical, such as creating glossy ganaches, enrobing truffles, or tempering for a professional snap and sheen. Using supermarket chips for a ganache will often result in a thick, grainy, or oily texture because the stabilizers interfere with a smooth emulsion. The premium chocolate market, projected to reach $235.87 billion by 2034, is built on this very distinction in quality and performance.
So, is the price difference worth it? It entirely depends on the application. For mix-ins in a cookie or scone, where you want visible chunks of chocolate, a standard chip is not only adequate but often preferable. For any recipe where the chocolate needs to melt, flow, or be the star of the show, investing in couverture is non-negotiable. It’s not a matter of “good” vs. “bad” chocolate, but of choosing the right tool for the job.
Your Action Plan: Strategic Chocolate Selection Framework
- Use couverture when chocolate is the star: ganache, tempering, enrobing (minimum 60% cocoa).
- Choose supermarket chips for mix-ins where texture matters more than melt quality.
- Check labels: avoid chips with vegetable oil or excessive stabilizers for sauces.
- Upgrade cheap chocolate: add 1 tsp coconut oil per 100g chocolate for better flow.
- Test emulsifier content: true couverture contains only cocoa butter and lecithin.
Dissolving Anchovies: How to Use Them as a Secret Weapon in Stir-Fries?
While the title may seem out of place, it points to one of the most guarded secrets of professional pastry chefs: the power of umami to enhance and deepen chocolate flavor. The “fifth taste,” known for its savory, mouth-watering quality, has a remarkable ability to suppress our perception of bitterness and amplify other flavors. Top chefs have discovered that adding minuscule amounts of umami-rich ingredients to chocolate desserts can create a profound complexity and depth that chocolate alone cannot achieve.
This isn’t about making your brownies taste like fish or soy sauce. When used in tiny, sub-perceptual quantities, these ingredients act as flavor enhancers at a molecular level. Their glutamates and nucleotides interact with our taste receptors in a way that makes the inherent roasted, nutty, and fruity notes of the cocoa seem louder and more vibrant. Cocoa powder itself has savory potential and is often used in mole, chili, and barbecue sauces to add an earthy depth. This principle simply reverses the application.
The most common umami sources in modern pastry are white miso paste, high-quality soy sauce, and even powdered shiitake mushrooms. A mere half-teaspoon of white miso in a batch of dark chocolate brownies can round out the bitterness and add a buttery, caramel-like background note that no one can quite identify but everyone loves. A few drops of soy sauce can heighten the roasted flavors in a chocolate cookie, making it taste more intensely “baked.” It’s a technique that requires precision and restraint, but it’s the kind of detail that elevates a homemade treat to a professional-level creation.
This table offers a guide to experimenting with this advanced flavor-building technique.
| Umami Source | Dosage (per 200g chocolate) | Flavor Impact | Best Application |
|---|---|---|---|
| White Miso | 1/2 tsp | Rounds bitterness, adds depth | Dark chocolate brownies |
| Soy Sauce | 1 tsp | Enhances roasted notes | Chocolate cookies |
| Shiitake Powder | 1/4 tsp | Earthy complexity | Mole sauce |
| Fish Sauce | 2-3 drops | Mysterious depth | Chocolate chili |
Key Takeaways
- pH is King: The reaction between acidic natural cocoa and alkaline baking soda is essential for leavening and flavor. Never substitute them without adjusting the leavening agent.
- Blooming is Non-Negotiable: Always bloom cocoa powder in a hot liquid to unlock its full flavor potential. Use different liquids (water, coffee, butter) to strategically shape the flavor profile.
- A Tale of Two Chocolates: Use cocoa powder for concentrated, sharp flavor and use real couverture chocolate (high in cocoa butter) for structure, mouthfeel, and a glossy, professional finish.
How to Create Decadent Chocolate Treats at Home That Look Like Artisan Shop Creations?
The final hurdle between a delicious homemade treat and an artisan-quality creation is often visual and textural. The secret to that professional, polished look lies in understanding and leveraging the physical properties of your ingredients, specifically the fat structure of real chocolate versus the matte finish of cocoa powder. As one professional guide notes, the difference is stark and rooted in chemistry.
The higher the cocoa butter content in ‘real’ chocolate is what allows for tempering and creates a professional, glossy sheen on a glaze or shell. Cocoa powder-based icings, lacking this fat structure, will always be matte or crusty by comparison.
– Professional Pastry Techniques Manual, Baker’s Authority Professional Guide
Achieving a professional look is not about elaborate decoration, but about mastering textural contrast. Instead of choosing between a cocoa-based frosting and a chocolate glaze, use both. A cake with a matte, deep-brown crumb made with bloomed cocoa powder, topped with a mirror-like ganache made from tempered couverture, creates a stunning visual and textural interplay. The matte surface absorbs light, making the color appear deeper, while the glossy surface reflects it, signaling richness and quality.
You can further engineer this contrast by playing with different forms of cocoa. Consider a dark cookie base made with a blend of Dutch and black cocoa, with chunks of melted couverture swirled in for pockets of sheen and a different texture. A light dusting of natural cocoa powder over a high-gloss tart provides a rustic, inviting finish. Mastering these visual techniques requires thinking like a designer, using the principles of light, color, and texture.
- Create contrast: Pair a matte cocoa powder base with glossy melted chocolate accents for a dynamic look.
- Dust strategically: Use natural cocoa for a warm, rustic appearance, or black cocoa for dramatic, modern styling.
- Master the sheen: The key to a mirror-like finish is proper tempering, which involves carefully heating and cooling couverture chocolate to stabilize the cocoa butter crystals.
- Use stencils: A fine-mesh sieve and a simple paper stencil can be used with black or natural cocoa to create sharp, professional patterns on cakes and plates.
Now that you understand these core principles, the next step is to stop following recipes blindly and start experimenting. Revisit your favorite chocolate cake or brownie recipe and ask yourself: Can I bloom the cocoa in coffee instead of water? Can I add a tiny pinch of miso to the batter? Can I swap 20% of my Dutch cocoa for black cocoa? This is how you move from being a baker to being a true chocolate connoisseur.